
这阵子比较闲了,想着好好利用一下以前的工作笔记本。
Intel 芯片的 Macbook Pro,离职以后公司免费送给我们的福利之一。
决定在上面装个 Oracle RAC 测试环境。之前 2013 年的 MacBook Pro 已经在爱回收上卖掉了,上面的测试环境也就没有了。
以下是一些零散的记录,写在这里以后找起来也容易。
yum install package 很慢
研究一番,最后发现是电信网络的问题,改用手机热点,虚拟机 IP 也跟着变化,重新 ssh,之后 yum install 就很快了。
Public IP 网络配置
之前都是自定义一个虚拟的网段,这次在 VMWare 里改用成和家庭网络网段一样,10.0.0.x,一个好处是 db server 可以直接访问外网,另外家庭网络里其他笔记本可以直接 ssh 到 db server(以前需要先 ssh 到笔记本上然后再 ssh 到 db server),算是一个改进。
#Public
10.0.0.218 pve01dbs005
10.0.0.219 pve01dbs006

#Private
192.168.1.2 pve01dbs005p1
192.168.1.3 pve01dbs006p1

#Virtual
10.0.0.221 pve01dbs005v1
10.0.0.222 pve01dbs006v1

#scan
10.0.0.223 pve01dbs-scan
avahi-daemon.service
Oracle Linux 7.7 上安装 RAC,需要 disable 这个服务。
systemctl status avahi-daemon.service
systemctl stop avahi-daemon.service
systemctl disable avahi-daemon.service
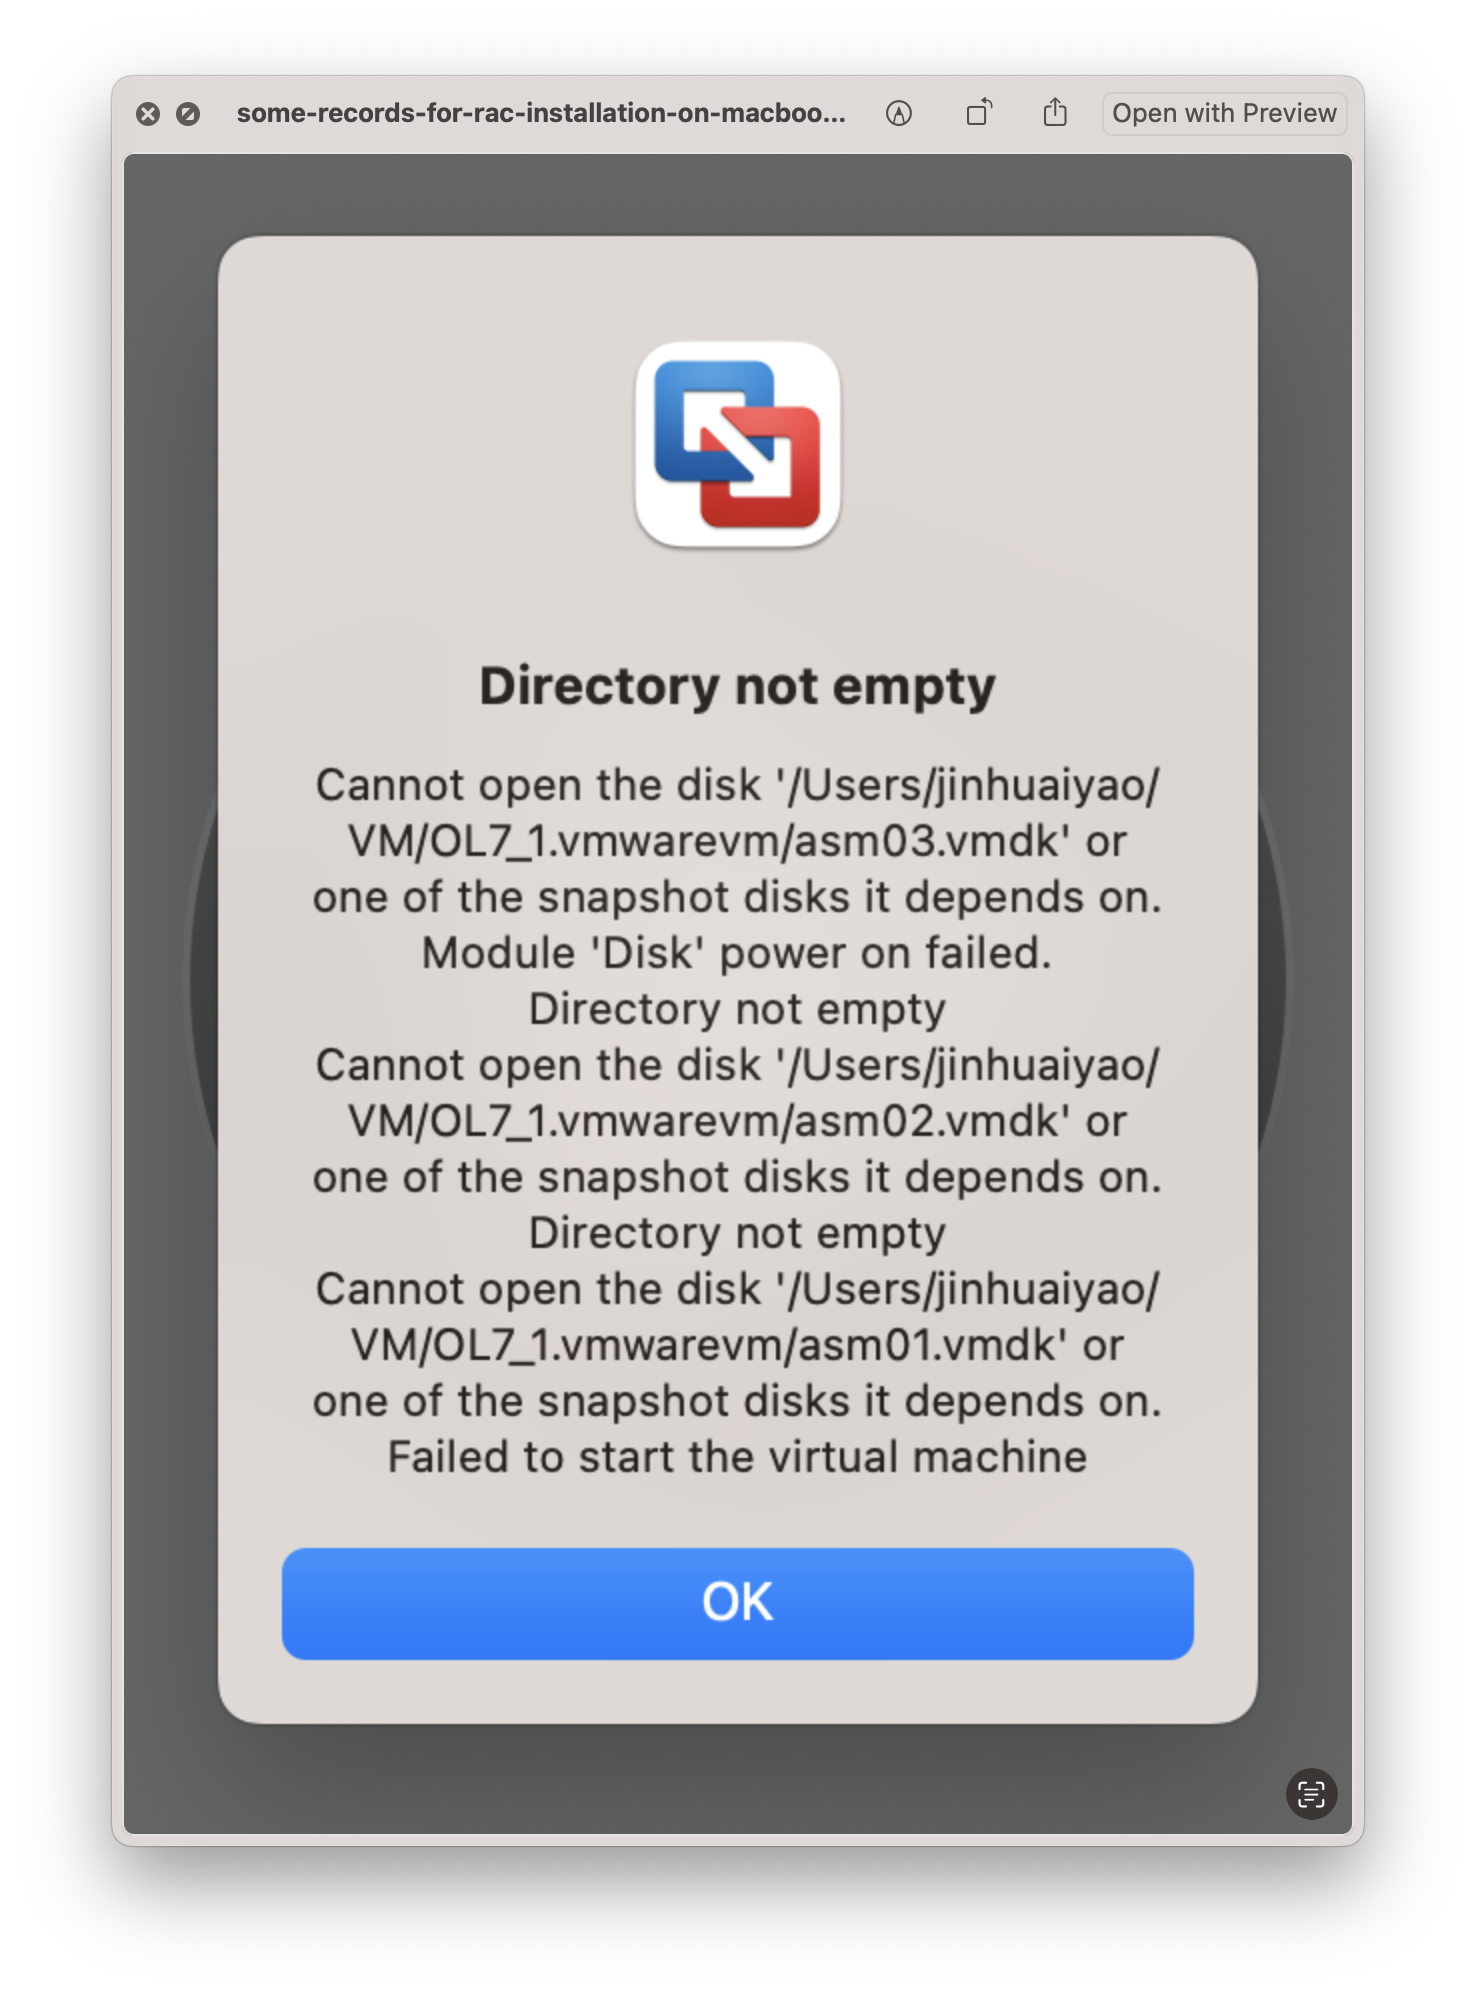
VMWare 里共享硬盘的配置
两个虚拟机都需要一些特别的配置,不然启动节点二db server会报错,无法使用共享磁盘。以前设置过的,这次想省略这一步试试看,结果不行,老老实实配置起来。
# ----------------------------------------------------------------
# BEGIN SHARED STORAGE
# ----------------------------------------------------------------
# -  Here we NEW SCSI BUS. Set it to "Virtual" and disk.locking = "false"
#
# ----------------------------------------------------------------
disk.EnableUUID = "TRUE"

diskLib.dataCacheMaxSize = "0"
diskLib.dataCacheMaxReadAheadSize = "0"
diskLib.dataCacheMinReadAheadSize = "0"
diskLib.dataCachePageSize = "4096"
diskLib.maxUnsyncedWrites = "0"
disk.locking = "false"
# ----------------------------------------------------------------
#   Create HBA (just as if you had a SAN storage), LSILOGIC or BUSLOGIC
# ----------------------------------------------------------------
scsi1.present = "TRUE"
scsi1.sharedBus = "virtual"
scsi1.virtualDev = "lsilogic"
# ----------------------------------------------------------------
#   Creating virtual SCSI disks on that HBA
# ----------------------------------------------------------------
scsi1:0.present = "TRUE"
scsi1:0.fileName = "asm01.vmdk"
scsi1:0.redo = ""
scsi1:0.mode = "independent-persistent"
scsi1:0.deviceType = "disk"
scsi1:1.present = "TRUE"
scsi1:1.fileName = "asm02.vmdk"
scsi1:1.redo = ""
scsi1:1.mode = "independent-persistent"
scsi1:1.deviceType = "disk"
scsi1:2.present = "TRUE"
scsi1:2.fileName = "asm03.vmdk"
scsi1:2.redo = ""
scsi1:2.mode = "independent-persistent"
scsi1:2.deviceType = "disk"

scsi1.pciSlotNumber = "37"
scsi0:1.fileName = "vote01.vmdk"
scsi0:1.present = "TRUE"
scsi0:1.mode = "independent-persistent"
scsi0:1.deviceType = "disk"

scsi0:2.fileName = "vote02.vmdk"
scsi0:2.present = "TRUE"
scsi0:2.mode = "independent-persistent"
scsi0:2.deviceType = "disk"

scsi0:3.fileName = "vote03.vmdk"
scsi0:3.present = "TRUE"
scsi0:3.mode = "independent-persistent"
scsi0:3.deviceType = "disk"
scsi0:3.redo = ""
scsi0:1.redo = ""
scsi0:2.redo = ""
#
# ----------------------------------------------------------------
# END SHARED STORAGE
# ----------------------------------------------------------------
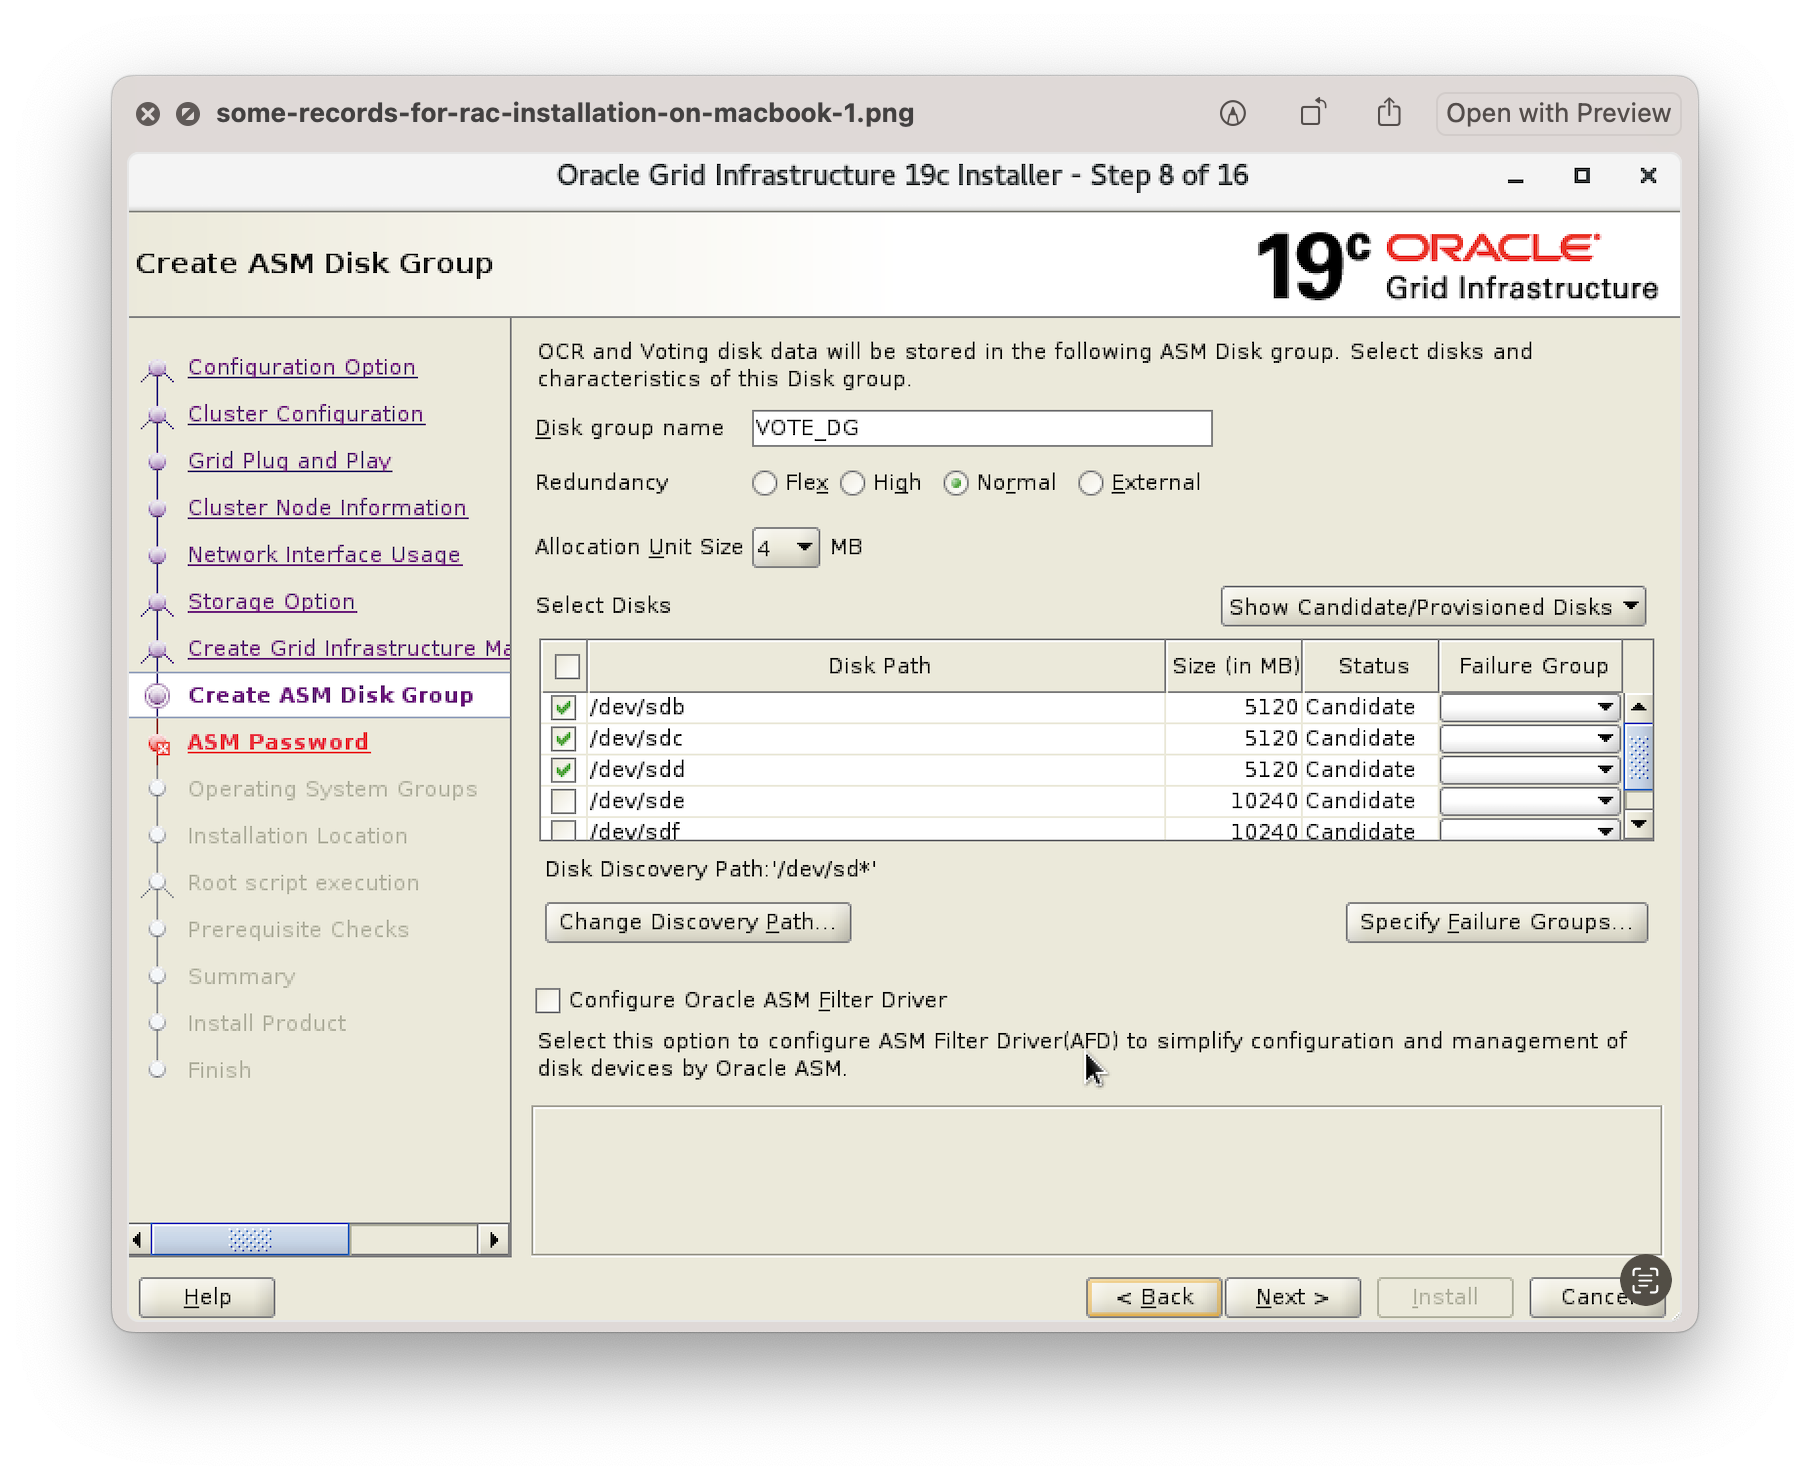
OCR
忘记 OCR 和 Voting disk 的冗余方式了,又打开 OneNote 查看一下以前的记录,Redundancy 要选 Normal,Oracle 会生成一份冗余,asmcmd lsdg 里 Req_mir_free_MB 和 Usable_file_MB 可以看出来。
[grid@pve01dbs005 ~]$ asmcmd lsdg vote_dg
State    Type    Rebal  Sector  Logical_Sector  Block       AU  Total_MB  Free_MB  Req_mir_free_MB  Usable_file_MB  Offline_disks  Voting_files  Name
MOUNTED  NORMAL  N         512             512   4096  4194304     15360    14420             5120            4650              0             Y  VOTE_DG/
安装 Grid 时节点一 root.sh 报错
2023/01/31 16:14:56 CLSRSC-594: Executing installation step 18 of 19: 'ConfigNode'.
 PRCR-1013 : Failed to start resource ora.ons
PRCR-1064 : Failed to start resource ora.ons on node pve01dbs005
CRS-2674: Start of 'ora.ons' on 'pve01dbs005' failed

2023/01/31 16:15:44 Oracle Clusterware infrastructure error in CLSECHO (OS PID 7018): ADR home path /u01/app/grid/diag/crs/pve01dbs005v1/crs does not exist; ADR initialization will try to create it
 CLSRSC-180: An error occurred while executing the command 'srvctl start nodeapps -n pve01dbs005'
2023/01/31 16:15:44 CLSRSC-287: FirstNode configuration failed
搜索了一下,有篇 metelink 文章正好解决这个问题,PRCR-1013 : Failed to start resource ora.ons - 12.2 : Grid Infrastructure Installation Fails with Error “PRCR-1013 : Failed to start resource ora.ons” (Doc ID 2380526.1)
解决方法是:
[root@pve01dbs005 ~]# service NetworkManager status
[root@pve01dbs005 ~]# service NetworkManager stop
[root@pve01dbs005 ~]# chkconfig NetworkManager off
然后重新运行 root.sh
[root@pve01dbs005 ~]# /u01/app/19.3.0/grid/root.sh
Performing root user operation.

The following environment variables are set as:
    ORACLE_OWNER= grid
    ORACLE_HOME=  /u01/app/19.3.0/grid

Enter the full pathname of the local bin directory: [/usr/local/bin]:
The contents of "dbhome" have not changed. No need to overwrite.
The contents of "oraenv" have not changed. No need to overwrite.
The contents of "coraenv" have not changed. No need to overwrite.

Entries will be added to the /etc/oratab file as needed by
Database Configuration Assistant when a database is created
Finished running generic part of root script.
Now product-specific root actions will be performed.
Relinking oracle with rac_on option
Using configuration parameter file: /u01/app/19.3.0/grid/crs/install/crsconfig_params
The log of current session can be found at:
  /u01/app/grid/crsdata/pve01dbs005/crsconfig/rootcrs_pve01dbs005_2023-01-31_04-25-49PM.log
2023/01/31 16:25:54 CLSRSC-594: Executing installation step 1 of 19: 'SetupTFA'.
2023/01/31 16:25:54 CLSRSC-594: Executing installation step 2 of 19: 'ValidateEnv'.
2023/01/31 16:25:54 CLSRSC-363: User ignored prerequisites during installation
2023/01/31 16:25:54 CLSRSC-594: Executing installation step 3 of 19: 'CheckFirstNode'.
2023/01/31 16:25:54 CLSRSC-4002: Successfully installed Oracle Trace File Analyzer (TFA) Collector.
2023/01/31 16:25:55 CLSRSC-594: Executing installation step 4 of 19: 'GenSiteGUIDs'.
2023/01/31 16:25:56 CLSRSC-594: Executing installation step 5 of 19: 'SetupOSD'.
2023/01/31 16:25:56 CLSRSC-594: Executing installation step 6 of 19: 'CheckCRSConfig'.
2023/01/31 16:25:57 CLSRSC-594: Executing installation step 7 of 19: 'SetupLocalGPNP'.
2023/01/31 16:25:57 CLSRSC-594: Executing installation step 8 of 19: 'CreateRootCert'.
2023/01/31 16:26:02 CLSRSC-594: Executing installation step 9 of 19: 'ConfigOLR'.
2023/01/31 16:26:02 CLSRSC-594: Executing installation step 10 of 19: 'ConfigCHMOS'.
2023/01/31 16:26:02 CLSRSC-594: Executing installation step 11 of 19: 'CreateOHASD'.
2023/01/31 16:26:03 CLSRSC-594: Executing installation step 12 of 19: 'ConfigOHASD'.
2023/01/31 16:26:05 CLSRSC-594: Executing installation step 13 of 19: 'InstallAFD'.
2023/01/31 16:26:05 CLSRSC-594: Executing installation step 14 of 19: 'InstallACFS'.
2023/01/31 16:26:06 CLSRSC-594: Executing installation step 15 of 19: 'InstallKA'.
2023/01/31 16:26:09 CLSRSC-594: Executing installation step 16 of 19: 'InitConfig'.
2023/01/31 16:26:45 CLSRSC-594: Executing installation step 17 of 19: 'StartCluster'.
2023/01/31 16:28:12 CLSRSC-343: Successfully started Oracle Clusterware stack
2023/01/31 16:28:12 CLSRSC-594: Executing installation step 18 of 19: 'ConfigNode'.
2023/01/31 16:28:58 CLSRSC-594: Executing installation step 19 of 19: 'PostConfig'.
2023/01/31 16:29:19 CLSRSC-325: Configure Oracle Grid Infrastructure for a Cluster ... succeeded
19.3 rdbms安装和 12c 不同
和 Grid 安装方式类似,需要把 zip 文件 unzip 到预设的目录,然后运行 runInstaller。以前是随便 unzip 到一个目录,安装时候选择 ORACLE_HOME。